Classic Red Velvet Cake
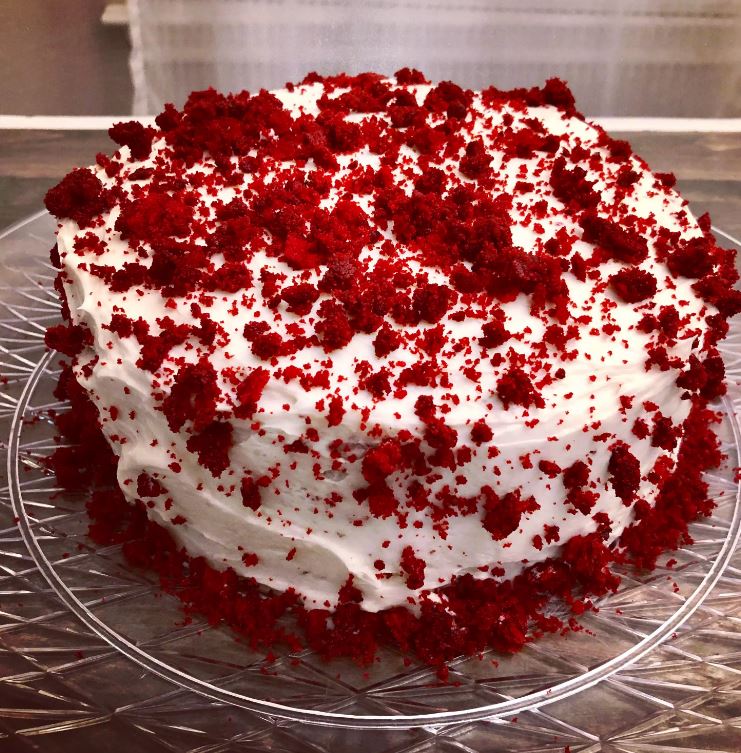
Welcome O!’Chefs, to where the recipes are hot and the tips are fresh! Today, we are bringing you a classic Red Velvet Cake recipe that is perfect for any special occasion. This cake has a rich, velvety texture with a subtle chocolate flavor that is perfectly complemented by the cream cheese frosting. Let’s get started!
Red velvet cake is a classic dessert that has been around for over a century. It’s believed to have originated in the southern United States and was a popular dessert during the Great Depression. The cake’s signature red color comes from the reaction between the cocoa powder and vinegar in the batter. The result is a cake with a beautiful red hue, a tender crumb, and a slightly tangy flavor.
Now, let’s begin the O! Recipes Show and dive into the ingredients that make this recipe so special:
Servings: 12-14 slices
Prep Time: 30 minutes
Cook Time: 30 minutes
Total Time: 1 hour
Now, let’s dive into the ingredients that make this recipe so special:
Ingredients:
For the Cake:
- 2 1/2 cups all-purpose flour
- 1 1/2 cups granulated sugar
- 1 teaspoon baking powder
- 1 teaspoon baking soda
- 1 teaspoon salt
- 1 teaspoon cocoa powder
- 1 1/2 cups vegetable oil
- 1 cup buttermilk, room temperature
- 2 large eggs, room temperature
- 1 teaspoon vanilla extract
- 1 tablespoon red food coloring
- 1 teaspoon white vinegar
For the Cream Cheese Frosting:
- 8 ounces cream cheese, softened
- 1/2 cup unsalted butter, softened
- 4 cups powdered sugar
- 1 teaspoon vanilla extract
- Pinch of salt
Time to get cooking! Follow these simple steps!
HOW TO :
- Preheat your oven to 350°F (175°C). Grease two 9-inch cake pans and line them with parchment paper.
- In a medium mixing bowl, sift together the flour, sugar, baking powder, baking soda, salt, and cocoa powder.
- In a separate mixing bowl, whisk together the oil, buttermilk, eggs, vanilla extract, red food coloring, and white vinegar until well combined.
- Add the dry ingredients to the wet ingredients in three parts, stirring until just combined after each addition.
- Divide the batter evenly between the two cake pans and smooth the tops with a spatula.
- Bake for 30 minutes, or until a toothpick inserted into the center of the cakes comes out clean.
- Let the cakes cool in the pans for 10 minutes, then remove them from the pans and transfer to a wire rack to cool completely.
- While the cakes are cooling, prepare the cream cheese frosting. In a mixing bowl, beat together the cream cheese and butter until light and fluffy. Gradually add the powdered sugar, vanilla extract, and salt, and continue beating until the frosting is smooth and creamy.
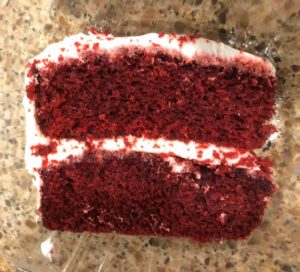
- Once the cakes are completely cooled, spread a generous layer of cream cheese frosting on top of one cake layer, then place the other cake layer on top. Spread a thin layer of frosting over the top and sides of the cake to create a crumb coat. Chill the cake in the refrigerator for 15-20 minutes.
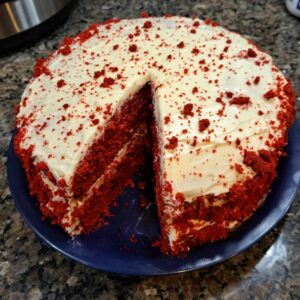
- Once the crumb coat has set, spread a final layer of frosting over the top and sides of the cake, and use a spatula to create a smooth finish. Chill the cake in the refrigerator until ready to serve.
Want to make this recipe even better? Check out these Tips:
O! Tips:
* Use gel food coloring instead of liquid food coloring to achieve a more vibrant red color.
* Make sure your ingredients are at room temperature before mixing to ensure a smooth batter and frosting.
* If you don’t have buttermilk, you can make your own by adding 1 tablespoon of white vinegar or lemon juice to 1 cup of milk and letting it sit for 5 minutes before using.
Nutrition Information:
Serving size: 1 slice (1/12 of cake) contains approximately:
Calories: 460
Total Fat: 24g
Saturated Fat: 15g
Cholesterol: 105mg
Sodium: 370mg
Total Carbohydrates: 58g
Dietary Fiber: 1g
Sugar: 44g
Protein: 5g
Now that you know how to make a delicious and classic red velvet cake, it’s time to get baking! This cake is perfect for any occasion, whether it’s a birthday celebration or just a special dessert for your family and friends. Don’t forget to top it off with some cream cheese frosting and a sprinkle of cocoa powder for the perfect finishing touch.
We hope you enjoyed this recipe and that it brings joy to your taste buds. If you have any questions or feedback, please let us know in the comments below. And be sure to check out some of our other O! Recipes for more culinary inspiration.
Category: Desserts/Cakes
Still have some questions? Here are the most frequently asked questions about this recipe:
FAQs:
Can I make this cake without food coloring?
Yes, you can omit the food coloring, but your cake won’t have the classic bright red color.
Can I use regular milk instead of buttermilk?
While buttermilk gives the cake a unique tangy flavor, you can substitute it with regular milk. Just make sure to add the lemon juice or vinegar to the milk and let it sit for a few minutes before using it in the recipe.
Can I make the cake and frosting ahead of time?
Yes, you can make the cake and frosting up to two days in advance. Store the cake in an airtight container at room temperature and the frosting in the refrigerator. When ready to serve, frost the cake and let it come to room temperature before slicing and serving.
How should I store leftovers?
Store leftover cake in an airtight container in the refrigerator for up to 3-4 days. Let it come to room temperature before serving.
